
How to Use a Charcoal Grill (Step-by-Step for Beginners)
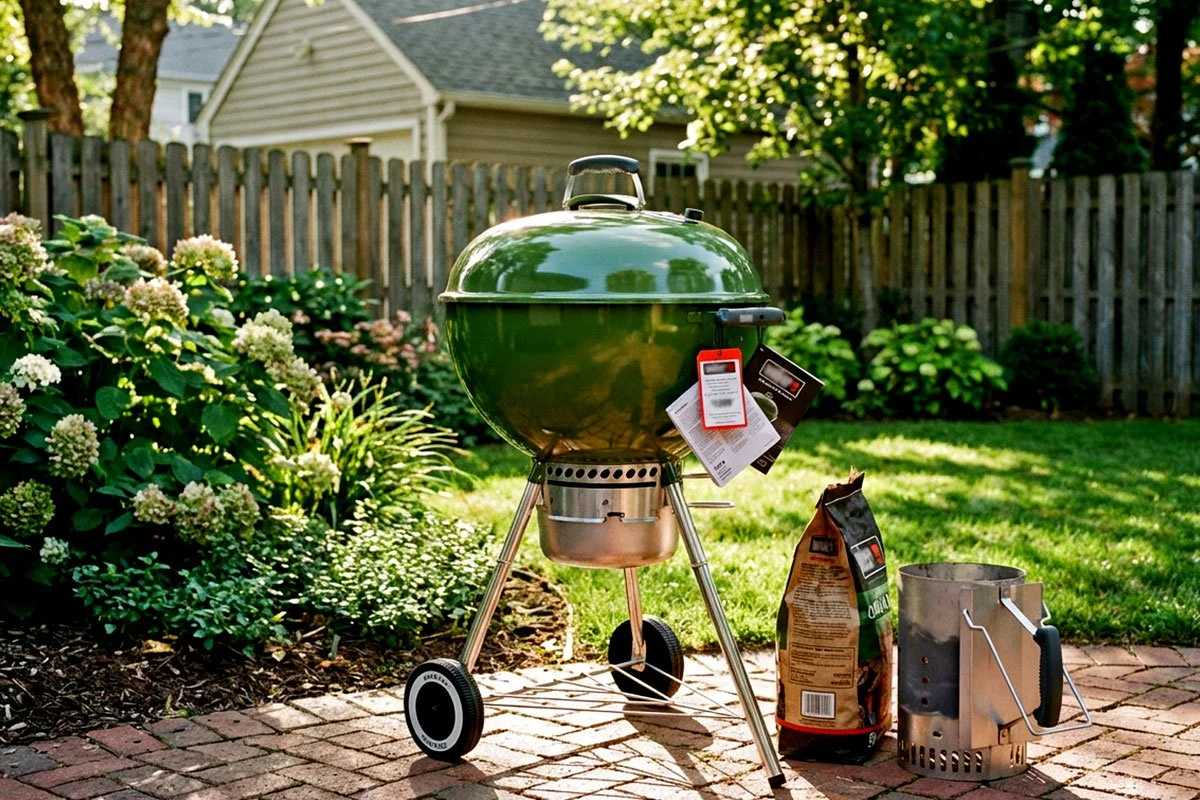
Learn the fundamentals of charcoal grilling, fire control, and heat zones
How Do You Use a Charcoal Grill?
Here are the basics. Using a charcoal grill involves lighting charcoal, creating heat zones, and controlling airflow to manage cooking temperature. Once the charcoal is fully lit, you place food over either direct heat for searing or indirect heat for slower cooking.
Basic Steps for Using a Charcoal Grill
Light charcoal using a chimney starter.
Wait until the coals are glowing and lightly covered with ash.
Pour the charcoal into the grill to create heat zones.
Adjust the grill vents to control airflow and temperature.
Preheat the grill for several minutes with the lid closed.
Cook food over direct or indirect heat depending on the recipe.
In this Guide:
Choosing the right charcoal
Lighting charcoal properly
Creating heat zones
Controlling airflow and temperature
Cooking your first foods on charcoal
Understanding fire control
Charcoal grilling has a reputation for being complicated, but the truth is that it only feels difficult when you don’t understand how charcoal and fire work for cooking.
A lot of beginners will light charcoal, put food over the heat, and hope for the best. Sometimes it works. Sometimes the food burns, it sticks to the grill, cooks unevenly, or flares up unexpectedly.
The difference between inconsistent grilling and great results usually comes down to how you manage the charcoal fire.
Once you understand how to light charcoal properly, how to create the right heat zone (or zones) for what you’re cooking, and how to control airflow on your cooker, charcoal grilling becomes a lot easier and more predictable.
The Step-by-Step Basics of Using a Charcoal Grill
This guide walks covers the step-by-step basics of using a charcoal grill so you can cook with confidence.
Step 1: Choose the Right Charcoal
There are two main types of charcoal used for grilling.
Hardwood Lump Charcoal
Lump charcoal is made from real hardwood that has been burned down to pure carbon. It lights quickly, burns hotter, and produces a natural wood-fire flavour.
Charcoal Briquettes
Briquettes are manufactured charcoal pieces designed to burn evenly and consistently. They tend to burn longer and more predictably, because that’s what they are made to do.
Both options work well for grilling, but a lot of charcoal enthusiasts prefer lump charcoal because it behaves more like a natural fire and contains no additives.
Step 2: Light the Charcoal Properly
The best way to light charcoal quickly is with a charcoal chimney starter.
A chimney starter ignites charcoal pretty fast and eliminates the need for lighter fluid, which can leave unpleasant chemical flavours on food. You should avoid any harsh starters (there are plenty of good organic starters out there).
How to Light Charcoal with a Chimney Starter
Fill the chimney with charcoal.
Place crumpled newspaper or a natural fire starter underneath.
Light the paper and allow the flame to ignite the charcoal.
Wait about 15 minutes until the charcoal is glowing and lightly covered with grey ash.
Once the coals are fully lit, carefully pour them into the grill.
For certain dishes, like low-and-slow ribs, I wouldn’t recommend a charcoal chimney because you don’t want the charcoal to get that hot. But when you’re just starting out, a charcoal chimney is a good option for grilling things like steak, burgers, chicken etc.
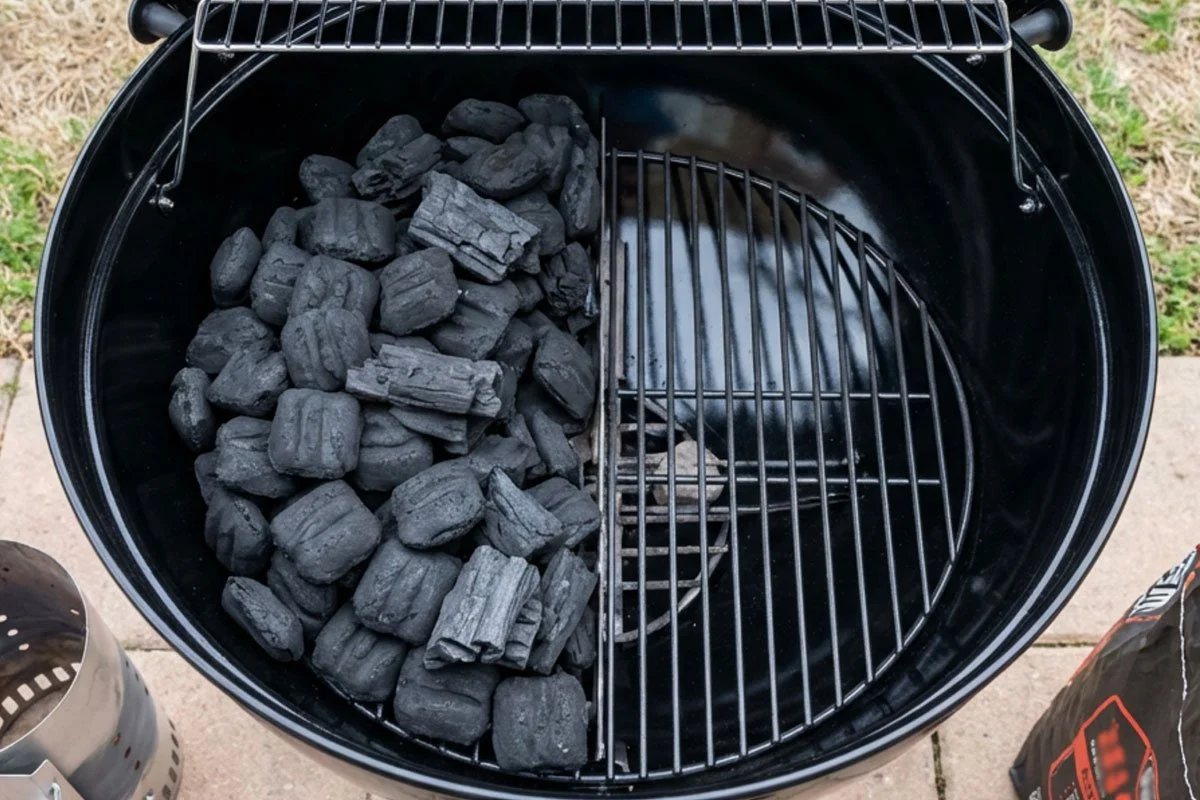
Step 3: Create Heat Zones
One of the biggest mistakes beginners make is spreading charcoal evenly across the grill, no matter what they’re cooking. But this isn’t always the best approach. There are many different ways to manage your charcoal set-up, and they need to match the food that you’re cooking. When you’re just starting out, try the following approach.
Charcoal grilling works well when you create two cooking zones.
A Direct Heat Zone
This is the side of the grill where the charcoal sits. It produces intense heat for searing foods like burgers and steaks.
An Indirect Heat Zone
This is the side without charcoal. It acts as a cooler cooking area for slower cooking or finishing thicker cuts.
Two-zone grilling allows you to move food between heat levels during a cook, which prevents burning and improves control. When you’re just learning, the indirect side also gives you an escape hatch (a place to move your food) if something starts cooking faster than you want.
Step 4: Control Temperature with Airflow
Most charcoal grills with lids regulate temperature using air vents.
These grills will usually have:
a bottom vent that lets oxygen feed the fire
a top vent that allows heat and smoke to escape
Airflow directly affects how the charcoal burns.
More airflow = hotter fire
Less airflow = cooler fire
Small vent adjustments can dramatically change the heat level inside the grill, especially when you’re using hardwood lump charcoal (which reacts faster to airflow changes).
Learning to control airflow is one of the most important charcoal grilling skills. The vents are equivalent of the High Heat and Low Heat knobs on your gas grill.
Step 5: Preheat the Grill
Once the charcoal is in the grill, close the lid and allow the grill to preheat for about 5–10 minutes.
Preheating stabilizes the fire and heats the cooking grate, which helps prevent food from sticking and improves searing.
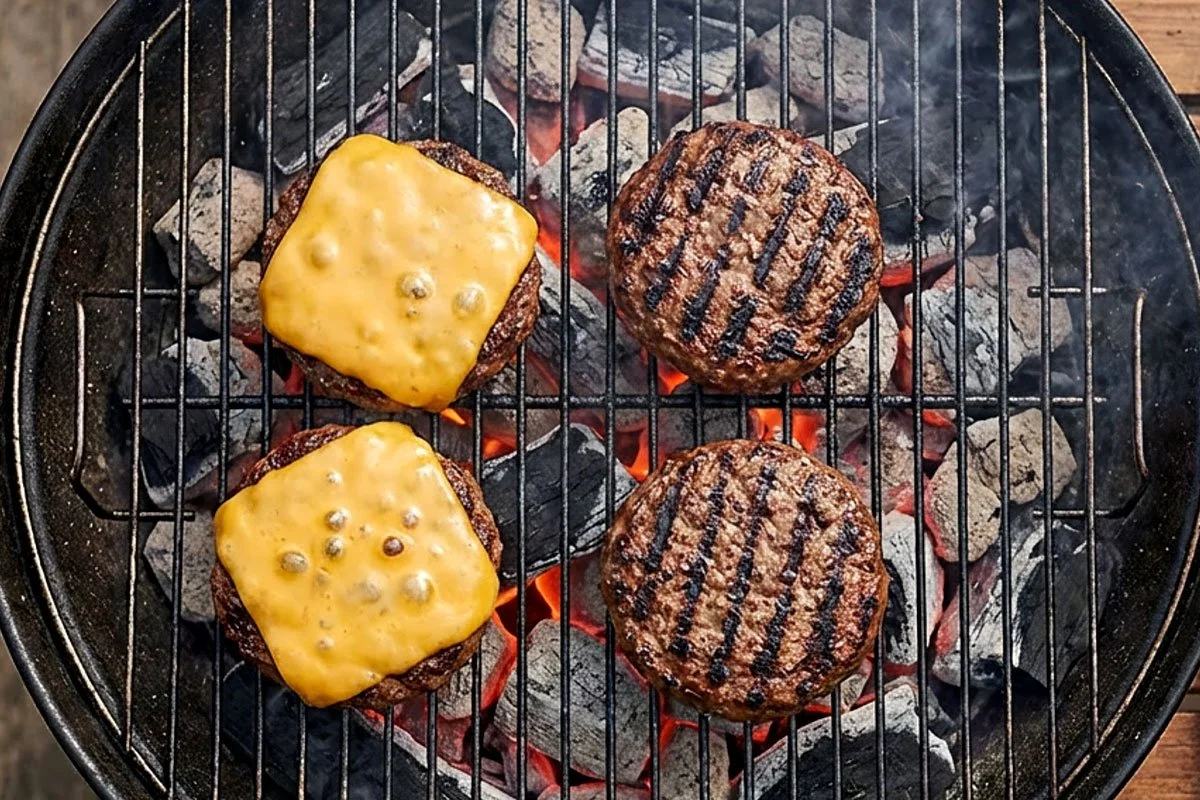
Step 6: Start with Simple Foods
If you’re new to charcoal grilling, skip the $30 steak and begin with foods that cook quickly and tolerate high heat well.
Good beginner grilling foods include:
burgers
sausages
chicken thighs
vegetables
These foods allow you to learn how your grill behaves without requiring complicated cooking timing or risking the loss of an expensive cut of meat.
Step 7: Use Heat Zones While Cooking
One of the biggest advantages of charcoal grilling is the ability to move food between heat zones.
For example:
Food can be seared over the direct heat zone and then moved to the indirect side to finish cooking.
If flare-ups occur, moving food to the cooler side of the grill allows the flames to settle without burning the food.
This simple technique gives you far more control over the cooking process and eases the stress of having nowhere to go when something doesn’t go as planned.
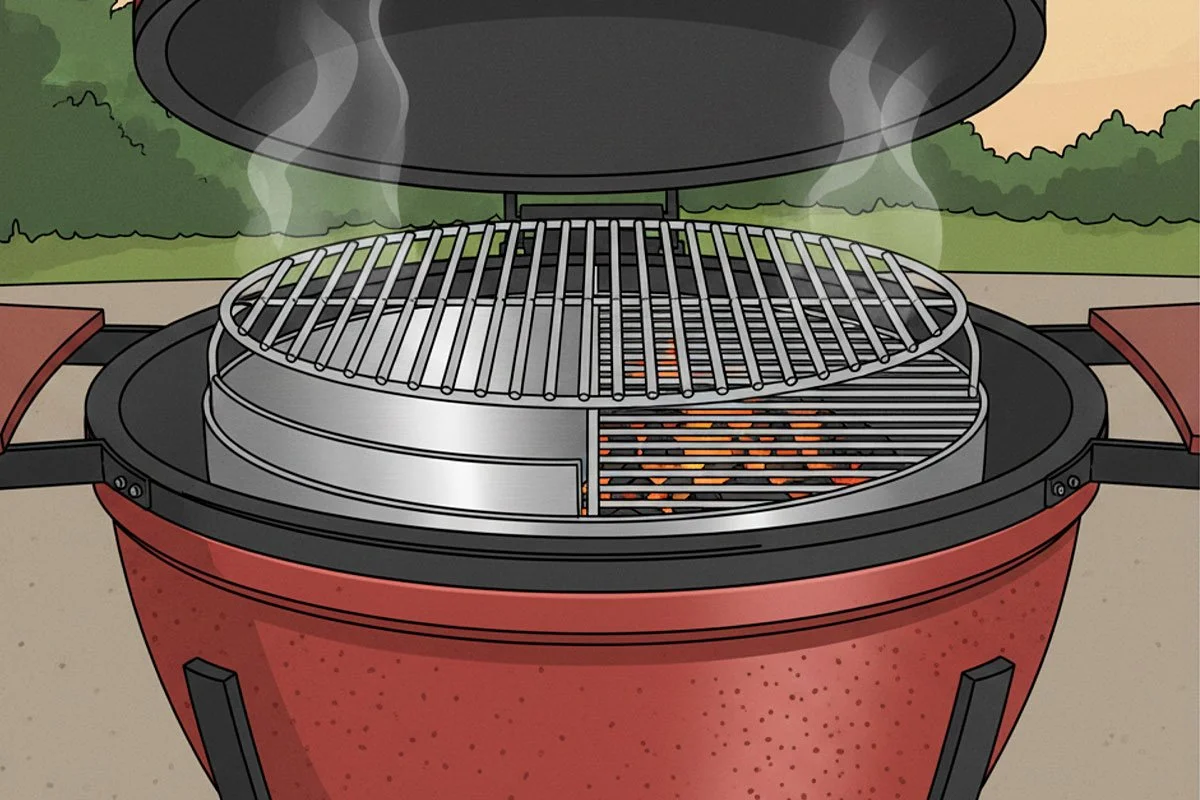
Charcoal Grill Setup Example
When setting up a charcoal grill for two-zone cooking:
Place all the hot charcoal on one half of the grill
Leave the other half empty
Position food over the appropriate heat zone depending on the cooking stage
This setup allows you to control heat without constantly adjusting the fire.
The Real Skill Behind Great Charcoal Grilling
Most people improve at grilling through years of trial and error. But the real skill behind great charcoal grilling is fire control.
When you understand how to:
structure charcoal fires
create heat zones
manage airflow
move food strategically
your grill stops feeling unpredictable and starts working like a precision cooking tool.
The Northern Barbecue™ Method
The Northern Barbecue™ Method is a structured approach to charcoal grilling that focuses on mastering fire rather than memorizing recipes.
Instead of relying on guesswork, the method teaches grillers how charcoal behaves and how to control it.
The system emphasizes:
charcoal fire structure
heat-zone cooking strategy
airflow management
repeatable charcoal grilling techniques
By learning how your fire actually works, grillers gain the ability to cook a wide range of foods with consistency.
Ready to Go Beyond the Basics?
If you are a comfortable and competent charcoal griller and you’re looking for a way to improve your charcoal cooking skills, the Foundations in Fire program was created to help advance your skills.
The course introduces the principles of the Northern Barbecue™ Method through a global fire perspective that helps grillers develop the core techniques that make charcoal cooking predictable, through a self-guided learning curriculum.
You will learn how to:
build effective charcoal fire structures
manage charcoal on different types of cookers and setups
control airflow and temperature
cook many types of proteins with confidence
understand how charcoal behaves during a cook
Instead of guessing your way through grilling, you will learn how to cook with real fire control.
Explore the Foundations in Fire program and start building real charcoal grilling skills today.
By Mike Belobradic
Founder of the Northern Barbecue™ Method
FAQ: Using a Charcoal Grill
Is charcoal grilling difficult for beginners?
Charcoal grilling can feel challenging at first, but once you understand how charcoal burns and how airflow controls temperature, it becomes easier to manage.
How long should charcoal burn before cooking?
Charcoal should generally burn for at least 10 to 15 minutes, or until the coals are glowing and lightly covered with grey ash.
What is the easiest charcoal grill setup for beginners?
A two-zone setup is the easiest and most versatile method for beginners because it provides a safety zone if things get too hot. Place charcoal on one side of the grill for high heat and leave the other side empty for indirect cooking.
Why do people prefer charcoal grills?
Charcoal grills produce a natural wood-fire flavour and allow grillers to create multiple heat zones, giving them greater control over cooking conditions.