
Mastering Your Charcoal Grill Vents: How to Control Heat Like a Pro
How to Control Charcoal Grill Temperature (Using Your Vents Properly)
A practical, step‑by‑step guide to using top and bottom vents on kettles, kamados, and charcoal grills
If you cook over charcoal (and especially if you just got your first charcoal grill), the most important thing to know is that your vents are your temperature control system. They’re the closest thing that a live‑fire grill has to the knobs on a gas grill or the digital board of a pellet grill. Once you understand how vents work, everything becomes easier: searing steaks, roasting chicken, smoking ribs, baking flatbreads, even holding a steady temperature for hours.
Whether you’re cooking on a classic kettle, a ceramic kamado, or a steel barrel-style cooker, the principles are the same. This guide breaks down how to use your top and bottom vents with clarity and confidence, giving you the heat control you need to transform your cooking.
Why Your Grill Vents Matter More Than Anything Else
Charcoal (or wood) only burns when it has oxygen. Vents control oxygen and oxygen controls heat.
That’s the entire system. It’s pretty simple really, but if you don’t ever get an understanding of it, it can be one of the most frustrating parts of owning your first charcoal grill.
At its most basic level:
More oxygen = hotter fire
Less oxygen = cooler fire
Balanced oxygen = stable fire
When you adjust your grill vents, you shouldn’t be guessing or hoping. When you open or close a vent, you’re shaping the fire’s environment. Once you see vents as your heat knobs, you stop chasing after temperatures and start managing them proactively.
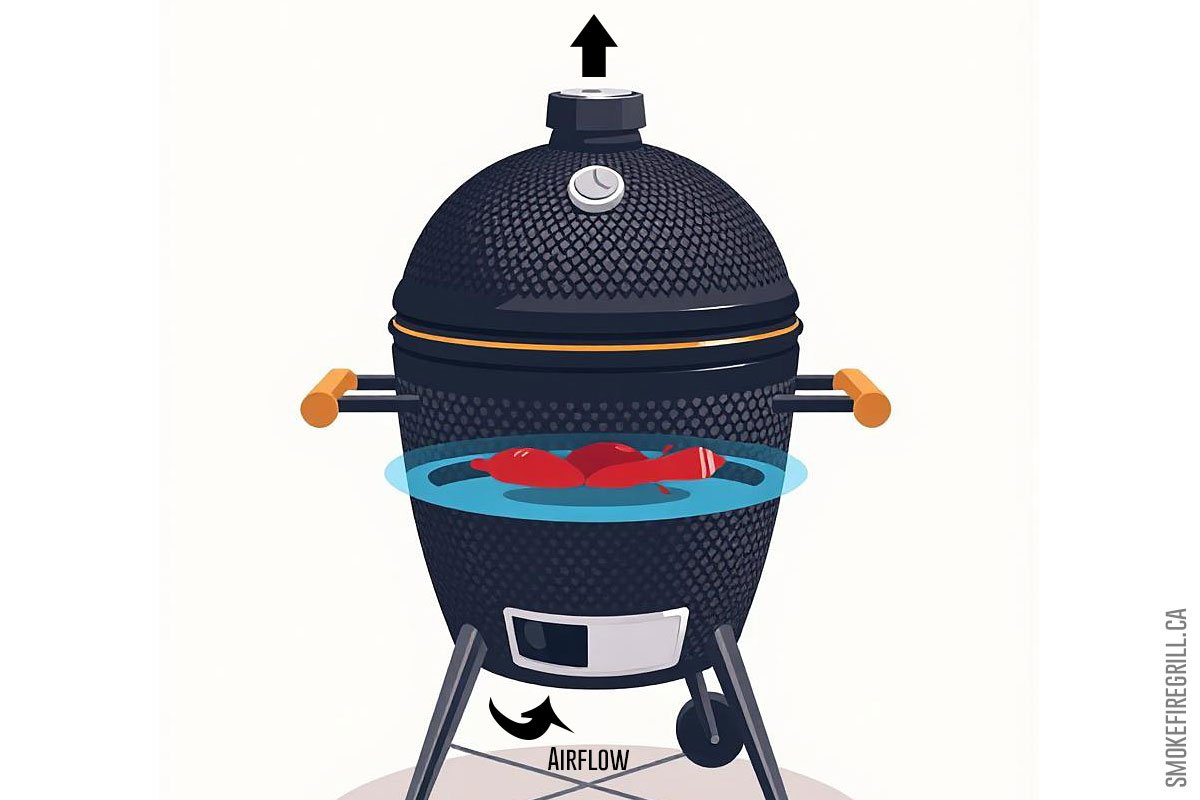
The Two-Vent System on Your Charcoal Grill: What Each Vent Actually Does
Just about every charcoal grill has two vents. Each one has a distinct job.
1. Bottom Vent (Air Intake): Your Heat Dial
This is the vent that feeds oxygen into the fire. It is your primary temperature control.
Fully open → maximum airflow → high heat
Half open → moderate airflow → roasting temps
Nearly closed → minimal airflow → low-and-slow
On kettles and kamados, the bottom vent is the engine of the heat. But this vent doesn’t work alone.
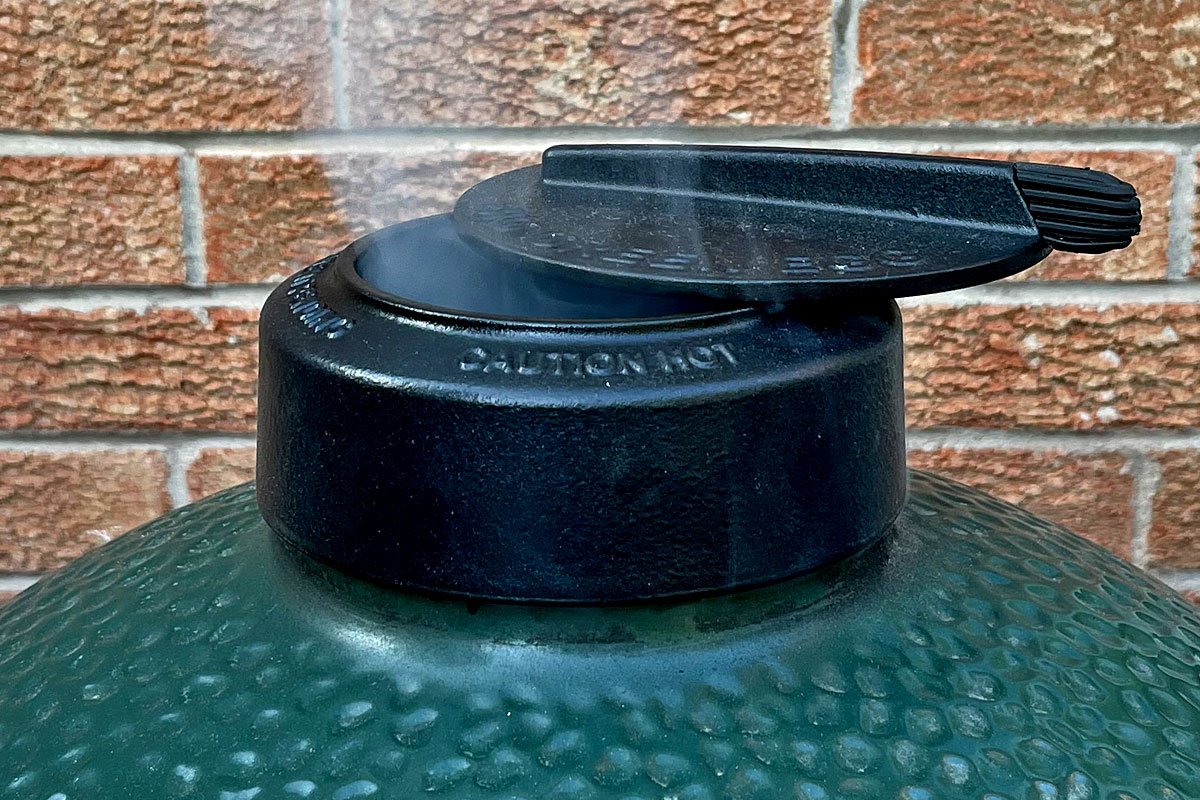
2. Top Vent (Air Exhaust): Your Airflow Regulator
The top vent controls how quickly air leaves the grill (and also how quickly oxygen whooshes across your live fire/coals). It stabilizes the fire and keeps smoke clean.
Fully open → clean airflow, clean smoke
Partially closed → slows the draft, reduces heat slightly
Nearly closed → drops the temperature
Fully closed → traps smoke, risks soot and bitterness
The top vent is less about temperature and more about air quality and airflow.
The Golden Rule of Charcoal Grill Vent Control
To break it down to the most basic level, try to remember this:
Bottom vent = heat
Top vent = airflow
You set temperature with the bottom vent. You stabilize and clean the burn with the top vent.
How to Use the Vents for Different Types of Heat on Your Grill
Here’s how to manage your charcoal grill vents for the three major heat modes. These are general recommendations and you will definitely need to fine tune on your specific grill setup. But they will give you a good starting point.
1. High Heat (450°F+ / 230°C+) — Searing, Charring, Wok Cooking, etc.
Goal: Maximum oxygen, fast-burning fire.
Bottom vent: Fully open
Top vent: Fully open
Lid: On or off depending on your desired technique
This is your steak-searing, burger-blasting, blistering‑vegetable heat zone. When you want max heat, open everything wide and let the air flow.
Note however, that you will start fully open, but if your target temperature is 450°F, for example, you will likely need to close both vents a little in order to stabilize at your desired temperature (start closing when you’re within five degrees or so). If you leave your rig wide open, it will ultimately climb to its max temperature (likely beyond 700°F).
2. Medium Heat (325°F –425°F / 160°C –220°C) — Roasting, Baking, Indirect Cooking
Goal: Controlled oxygen, steady burn.
Bottom vent: 25%–50% open
Top vent: Fully open or slightly reduced (50%–65% open)
Lid: Always on
This is where most grilling happens—chicken thighs, whole fish, reverse-seared steaks, cast‑iron cooking. Practice with different opening levels for each vent (using these as a starting point).
3. Low and Slow (225°F–275°F / 110°C–135°C) — Smoking, Long Roasts
Goal: Minimal oxygen, maximum control, long burn, clean smoke.
Bottom vent: 5–20% open
Top vent: 10–20% open
Lid: Always on
Kamados excel here because they’re naturally airtight. Kettles can do also do it beautifully with patient adjustments. But every grill is different, so experiment and pay attention to what’s happening with each adjustment.
It’s important to note that all of these percentages are notional starting points and you can adjust up or down for your grill. Eventually you will find a range that will consistently deliver what you want. At that point, you are in control and it all starts to click.
How to Make Smart Vent Adjustments
When cooking with hardwood lump charcoal or wood, your fire will react relatively quickly to any changes in settings (this is not the case with charcoal briquettes). Always stay on top of things until your coals stabilize, because you don’t want to have a runaway grill that heats up to 600°F+ when you wanted 350°F.
1. Make small adjustments
Moving a vent only a few millimetres can shift temperature significantly—especially on kamados.
2. Wait before adjusting again
Give the grill 5 or 10 minutes to respond to your changes – unless it starts to clearly run away.
3. Adjust the bottom vent first
Use the top vent only to fine‑tune airflow, not to choke the fire.
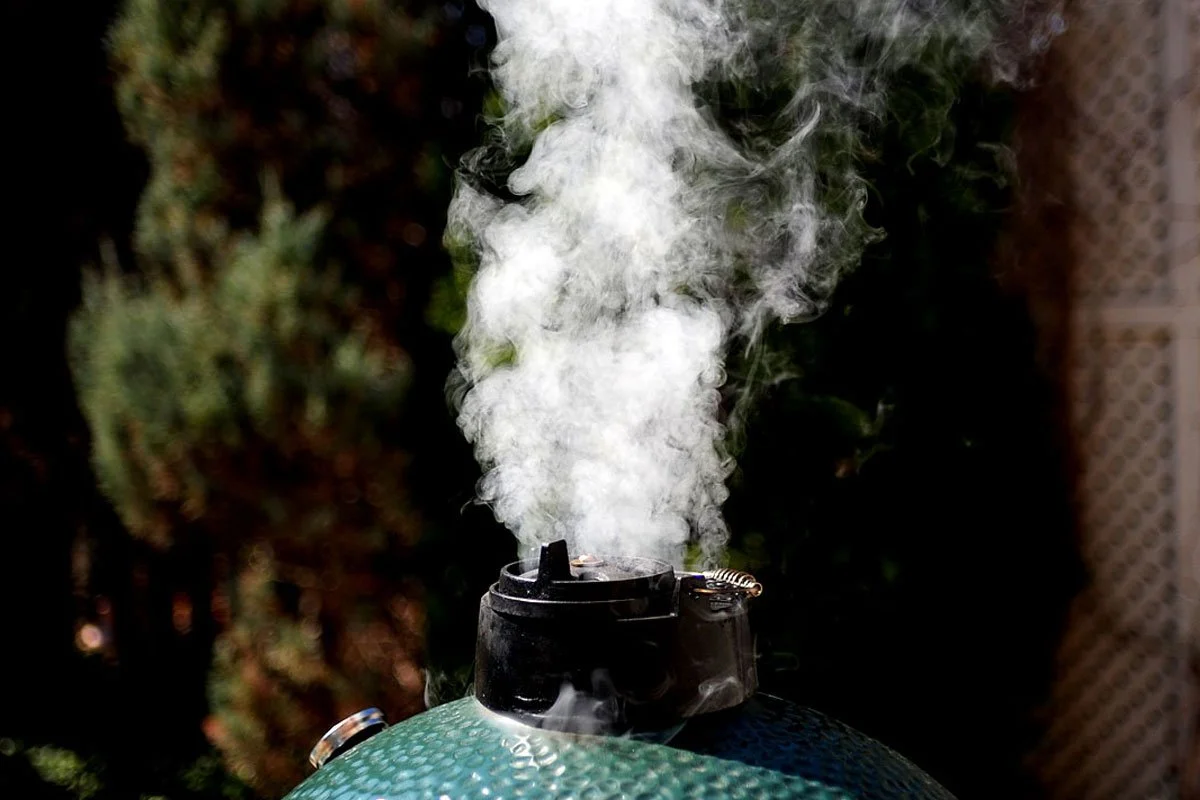
Clean Smoke vs. Dirty Smoke: The Top Vent’s Hidden Job
The top vent is your insurance policy against bitter, acrid smoke.
Clean smoke: Thin, blue, almost invisible
Dirty smoke: Thick, white, or grey
If smoke looks dirty:
Open the top vent more
Let the fire breathe
Avoid closing the top vent to “trap smoke”—that creates soot, not flavour
Clean smoke comes from clean airflow.
Note: You know those recipes you see where they tell you to shut down all vents and let your steak (or whatever) sit for five minutes or something like that? Don’t ever do that. That is the worst advice that I consistently see. All you’re doing is bathing your food in the most undesirable dirty smoke possible (right before you’re about to eat it).
Common Charcoal Grill Vent Mistakes (and How to Fix Them)
❌ Closing the top vent to control heat
This suffocates the fire and creates dirty smoke.
Do this: Leave the top vent where it is (or close slightly); adjust the bottom vent instead.
❌ Making big adjustments too quickly
This causes temperature swings.
Do this: Move vents in small increments and wait.
❌ Forgetting that fuel load matters
Vents can’t compensate for too much or too little charcoal.
Do this: Match your fuel load to your cooking time (e.g. if you’re grilling high-heat burgers you’ll need less charcoal than a six-hour low-and-slow ribs cook).
❌ Opening the lid too often
Every time you open the lid, oxygen surges in.
Do this: Trust the process and keep the lid closed. Monitor your dome thermometer (and remote food thermometers) to assess what’s happening.
A Simple Vent Strategy for Every Grill Type
Kettle Grills
Bottom vent does most of the work
Top vent stays 50% or more open 90% of the time
Responds quickly to adjustments
Kamado Grills
Extremely efficient—small vent changes matter
Top vent is a precision tool
Holds temperature for hours once stabilized
Barrel/Offset Hybrids
Bottom vent controls fire intensity
Chimney (top vent) controls draft
Think of it like managing a small fireplace
The Vent Confidence Checklist
Before every cook, ask yourself:
What heat mode do I need?
How much fuel matches that mode?
Where should my bottom vent start?
Is my top vent fully open for clean airflow?
Am I making small, patient adjustments?
This is heat literacy in action and it’s simple, repeatable and empowering.
It also matters how you are starting your fire.
If you’re starting your cook with a fully-fired charcoal chimney, you’ll be pretty hot right from the start, so the vents shouldn’t be wide open (unless you want high heat). If you’re lighting your charcoal inside the grill using a tumbleweed firestarter, or something similar, you can start with the vents wide open and then start closing them slightly when the temperature gets with 10°F or 20°F of your target temperature (and fine tune from there).
Charcoal Grill Vents are Your Fire Control Mechanism
Once you understand vents, you stop reacting to the grill and start leading it. You cook with intention. You build confidence. You unlock the full potential of charcoal.
This is the foundation of great live‑fire cooking and a skill that every home cook can master.
Learn more in my Complete Guide to Smoke in Hardwood Barbecue.
By Mike Belobradic
Live-Fire Chef and Founder of the Northern Barbecue™ cooking courses.